MVCモデルとは?
MVCモデルとは、プログラムの構成を「Model」「View」「Controller」の3つの要素に分けて、アプリケーションを作成するための開発手法です。
- Model:ビジネスロジックやデータベースとのやり取りを記述
- View:画面に出力する内容を記述
- Controller:モデルとビューの制御を記述
MVCに関する詳しい内容は、以下のマイクロソフト公式サイトを参照してください。
初めに
本記事では、Visual Studio Community 2022 を使って、プログラムを作成します。
開発環境の詳細は、こちらを参照してください。
MVCモデルを使ってWebアプリケーションを作成するための前準備
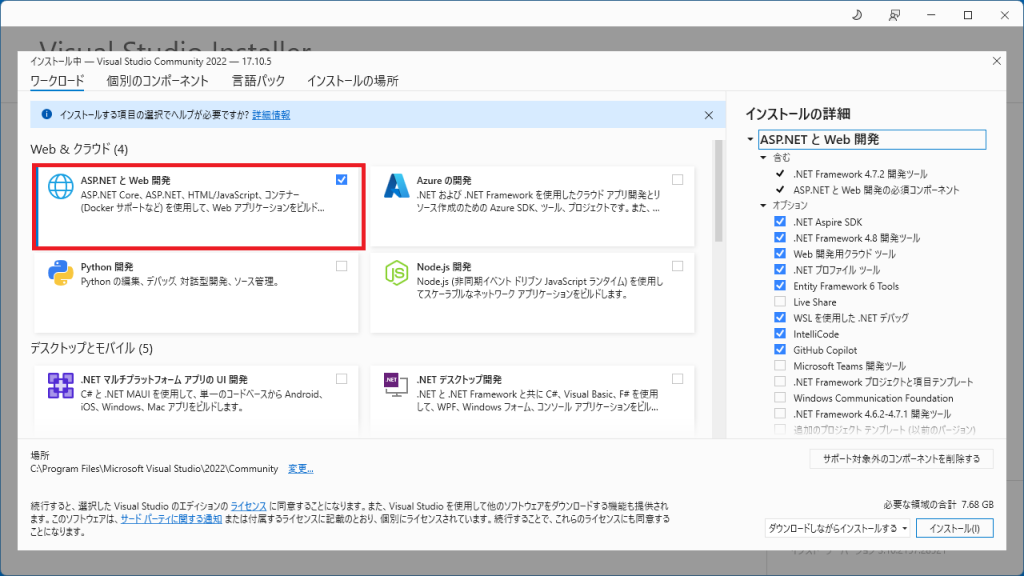
MVCモデルを使ってWebアプリケーションを作成するには、Visual Studio Installer で必要なコンポーネントをインストールする必要があります。
Visual Studio Installer を起動して、「ASP.NET と Web開発」を選択します。
※「Live Share」が、デフォルトではチェックが入っていますが、今回は不要なのでチェックを外しています。
MVCモデルのプロジェクトを作成する
MVCモデルのプロジェクトを新規に作成して、プログラムを作成する手順を、以下に記載します。
新しいプロジェクトの作成
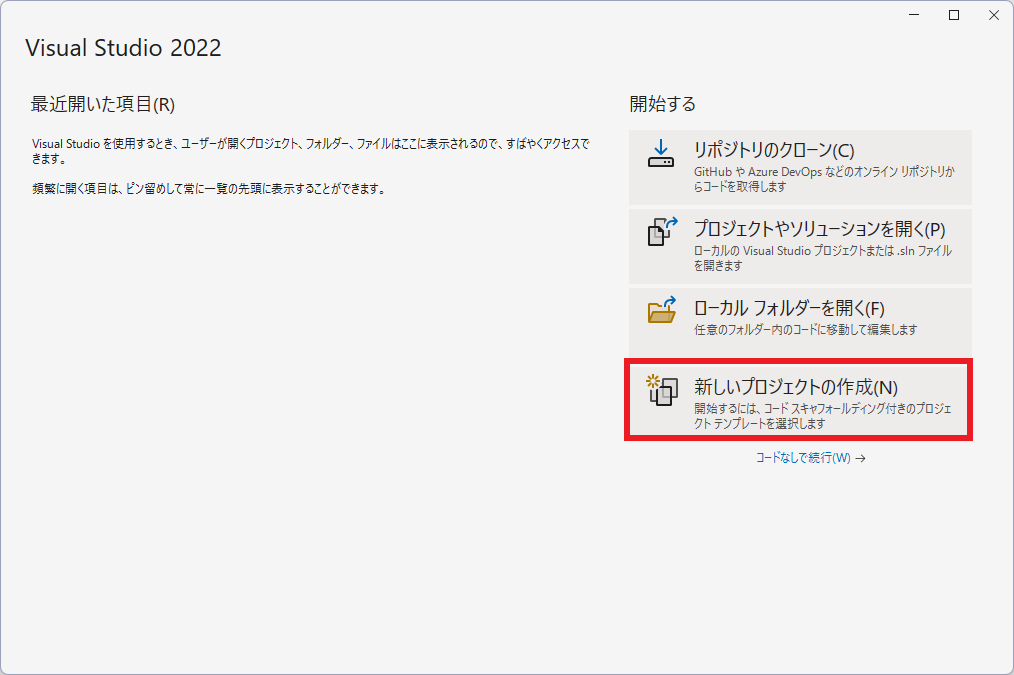
Visual Studioを起動して、「新しいプロジェクトの作成」を選択します。
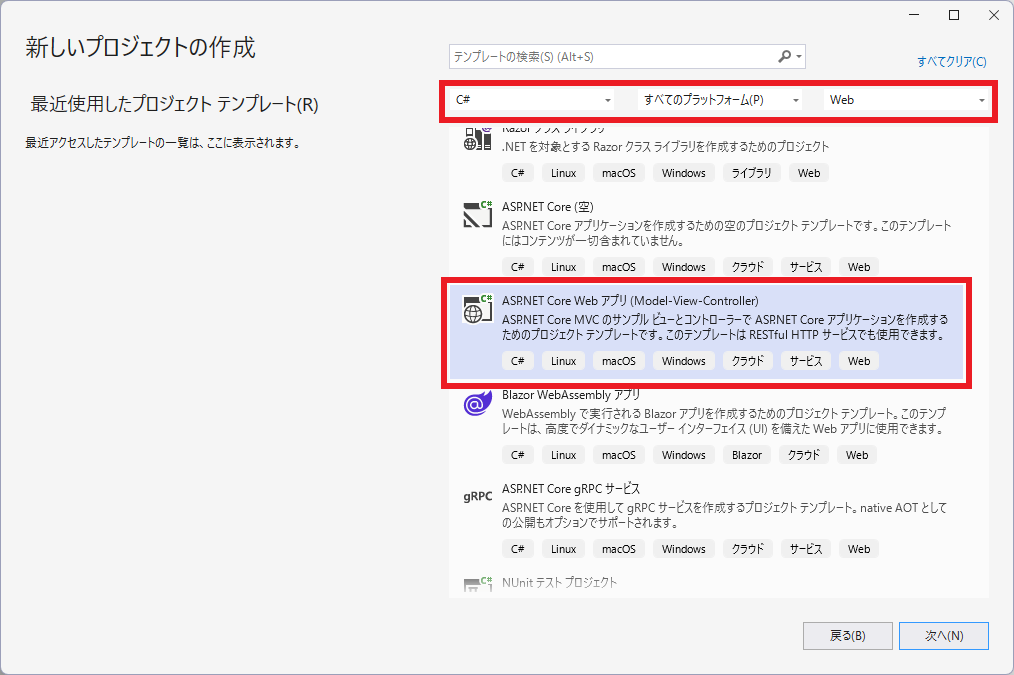
右側上部にある選択項目から、それぞれ「C#」「すべてのプラットフォーム」「Web」を選択します。
選択項目に該当する一覧が表示されるので、「ASP.NET Core Web アプリ (Model-View-Controller)」を選択して、「次へ」ボタンを押下します。
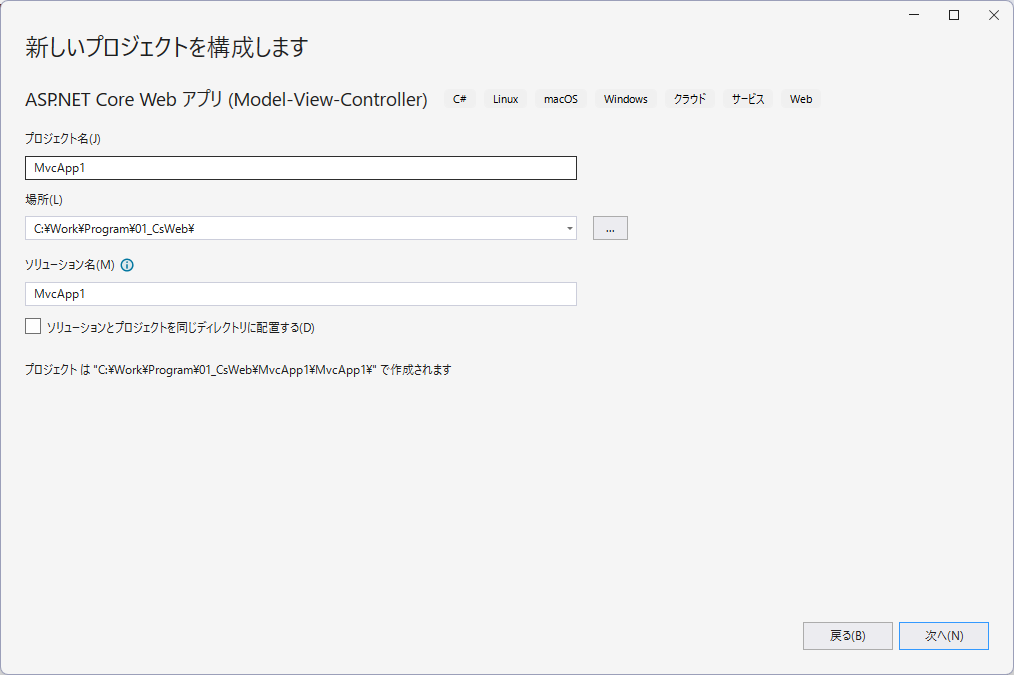
「プロジェクト名」、「場所」、「ソリューション名」を設定して、「次へ」ボタンを押下します。
この例では、プロジェクト名を「MvcApp1」にしています。
なお、ソリューション名は、プロジェクト名を入力すると自動的に同じ名称が設定されます。
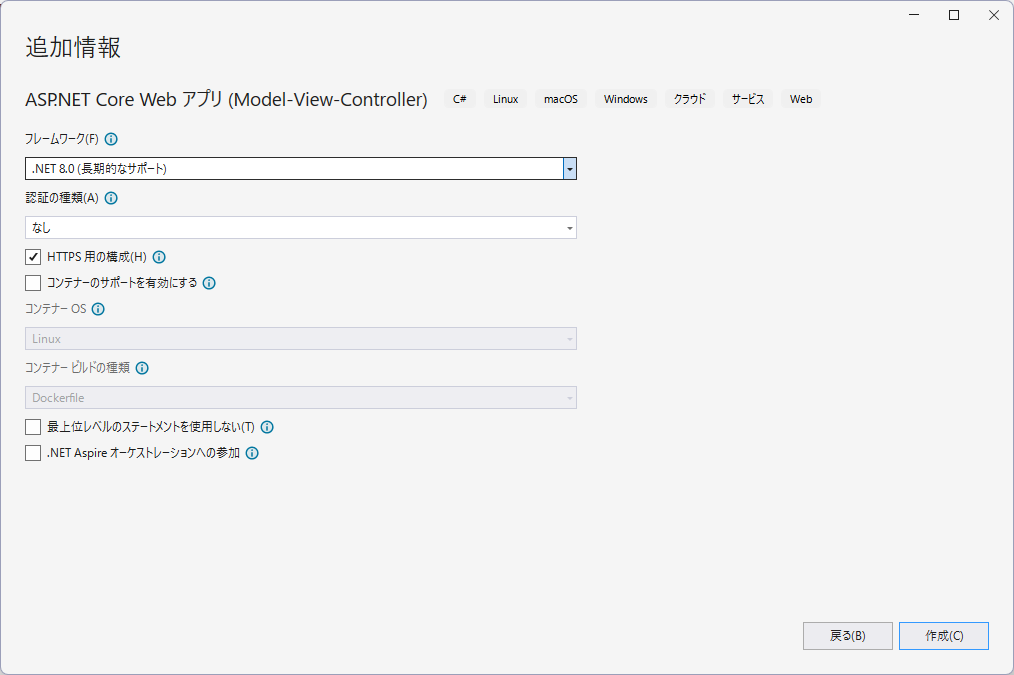
「追加情報」画面では、設定項目はデフォルトのまま「作成」ボタンを押下して、MVCモデルのプロジェクトを作成します。
レイアウト(_Layout.cshtml)の編集
ソリューションエクスプローラーから「Views/Shared」フォルダー配下にある「_Layout.cshtml」を、以下のように編集します。
ここでは、必要最小限の内容を記述しています。
|
1 2 3 4 5 6 7 8 9 10 11 |
<!DOCTYPE html> <html lang="ja"> <head> <meta charset="utf-8" /> <title>@ViewData["Title"] - MvcApp1</title> <link rel="stylesheet" href="~/css/site.css" asp-append-version="true" /> </head> <body> @RenderBody() </body> </html> |
「_Layout.cshtml」の中で、「@」を使っている箇所がありますが、これは Razor(レイザー)構文といって、サーバーサイドでその内容を解釈してHTMLに変換します。
また、9行目の「@RenderBody()」は、後述するビューの内容を埋め込む Razor のメソッドです。
Razor構文に関する詳しい内容は、以下のマイクロソフト公式サイトを参照してください。
スタイルシートの編集
ソリューションエクスプローラーから「wwwroot/css」フォルダー配下にある「site.css」を選択して、以下のように編集します。
※スタイルシートの設定は、自由に指定して構いません。
|
1 2 3 4 5 6 7 8 9 |
body { background-color: yellow; margin: 0; padding: 0; } h2 { margin: 20px; } |
コントローラーの作成
次に、HelloControllerという名前のコントローラーを作成します。
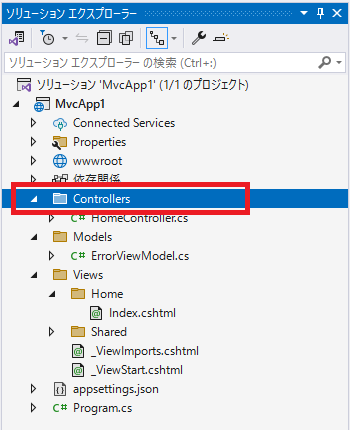
ソリューションエクスプローラーから「Controllers」フォルダーにカーソルを合わせます。
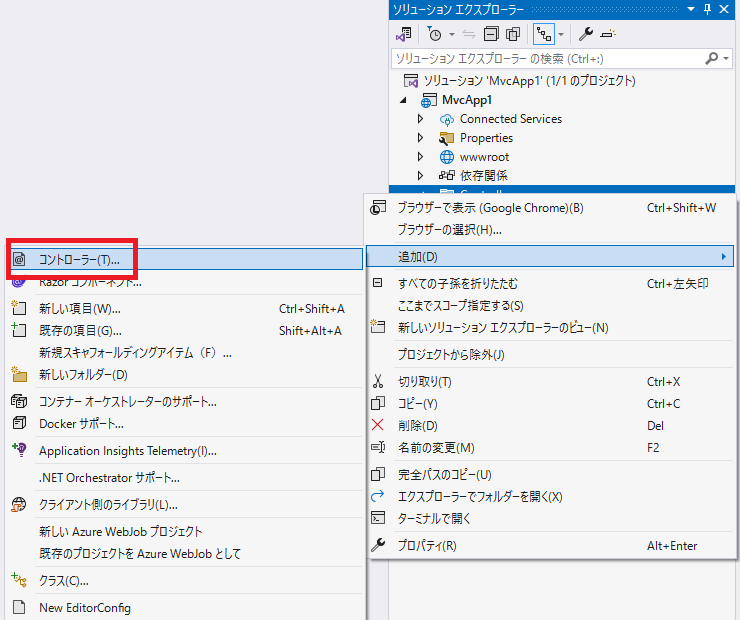
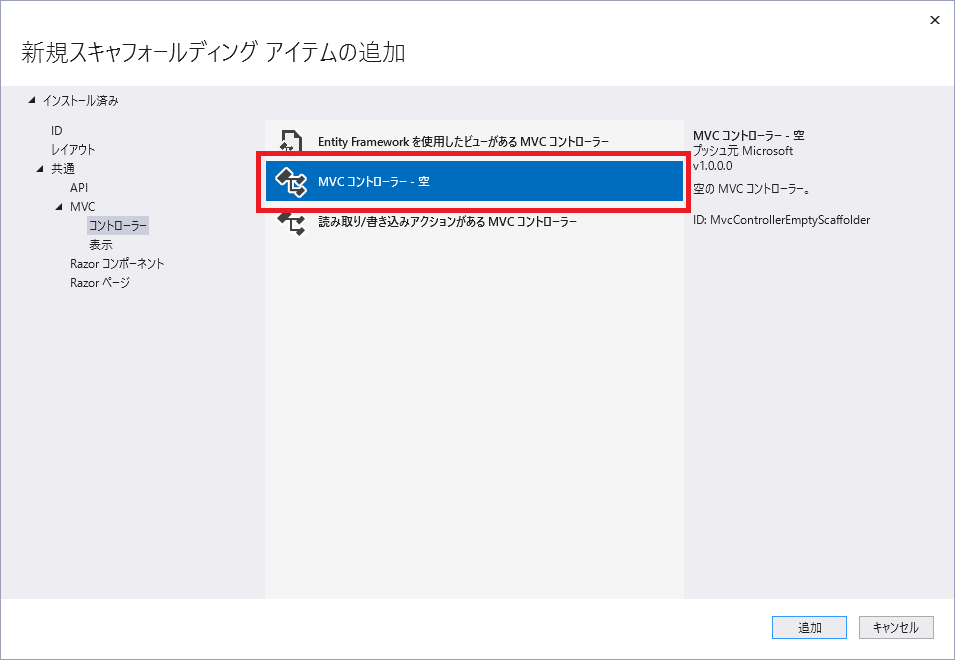
右クリックして、「追加」→「コントローラー」を選択します。
「MVC コントローラー - 空」を選択して、「追加」ボタンを押下します。
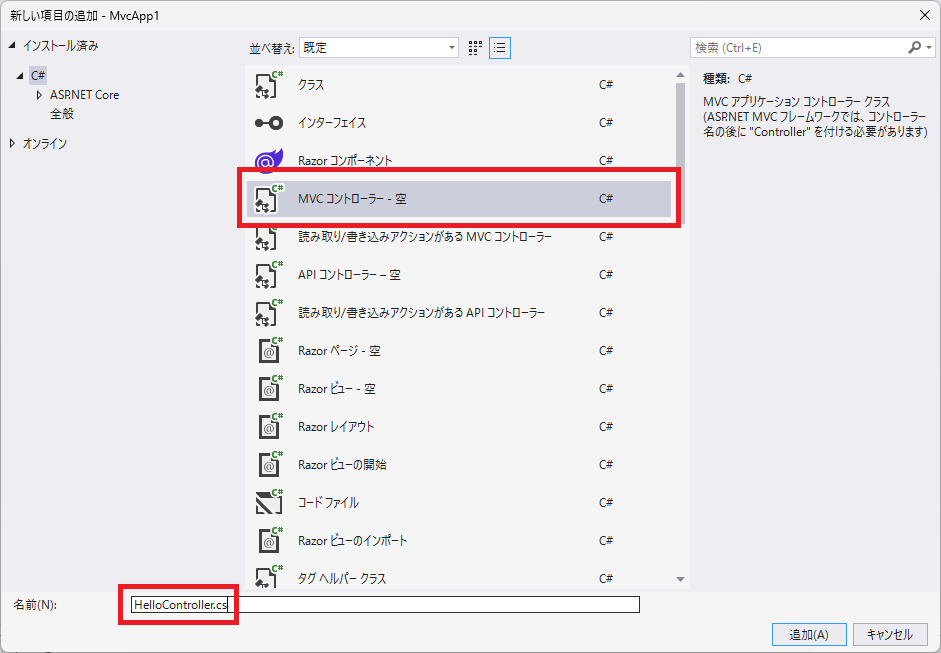
「MVC コントローラー - 空」を選択して、ファイル名を「HelloController.cs」に変更後、「追加」ボタンを押下します。
※ファイル名は必ず「〇〇Controller.cs」としてください。
コントローラーが作成されるので、以下のような内容になっていることを確認します。
※違う内容だった場合は、以下のように修正してください。
|
1 2 3 4 5 6 7 8 9 10 11 12 |
using Microsoft.AspNetCore.Mvc; namespace MvcApp1.Controllers { public class HelloController : Controller { public IActionResult Index() { return View(); } } } |
7行目の「Index」部分が、ビュー名に対応しています。
また、コントローラー名の「Hello」部分が、「Views」フォルダー配下にある「Hello」フォルダーに対応しています。
このように、MVCではフォルダー名やファイル名が非常に重要な意味を持ちます。
ビューの作成
次に、作成したコントローラーに対応するビューを作成します。
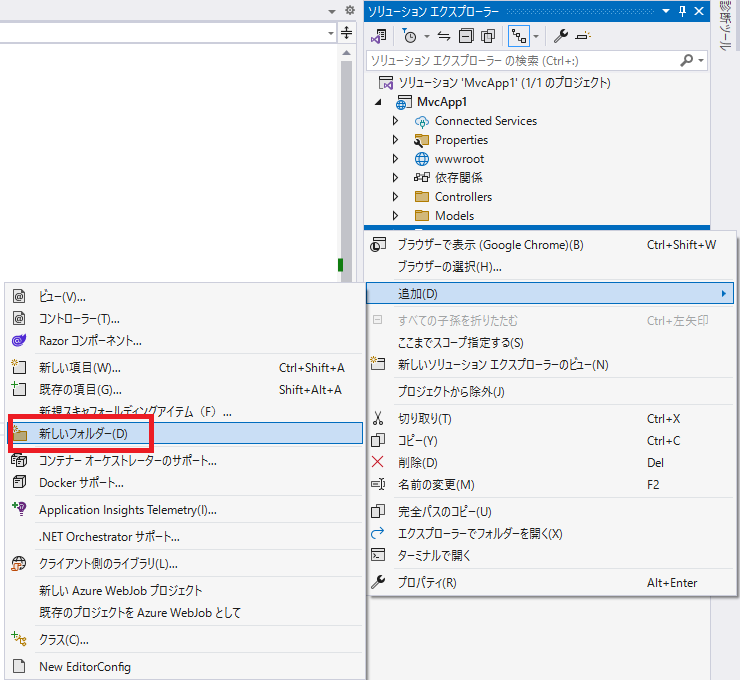
ソリューションエクスプローラーから「Views」フォルダーにカーソルを合わせます。
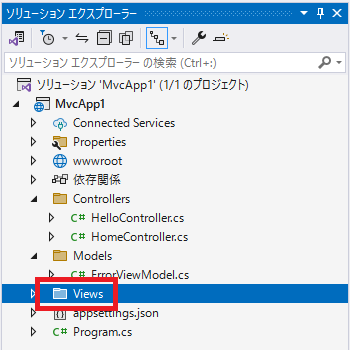
右クリックして、「追加」→「新しいフォルダー」を選択します。
フォルダー名を「Hello」に変更してから、「Hello」フォルダーにカーソルを合わせて、右クリックから「追加」→「ビュー」を選択します。
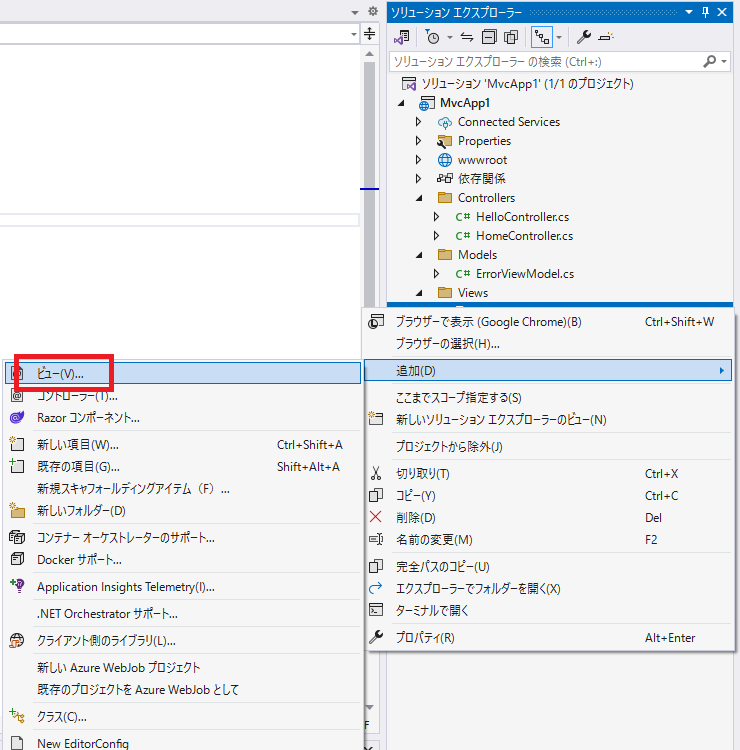
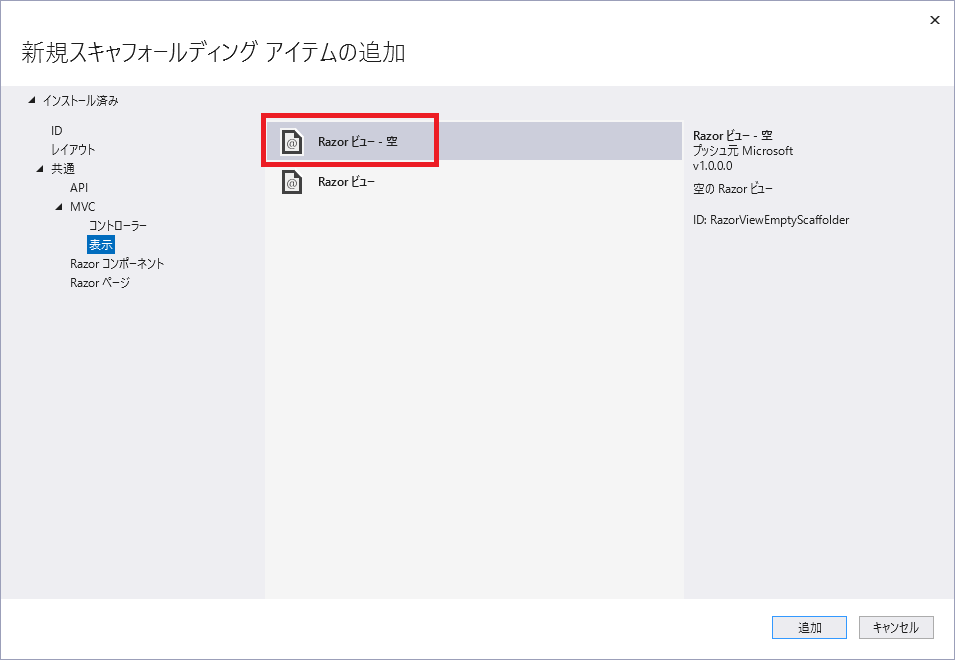
「Razor ビュー - 空」を選択して、「追加」ボタンを押下します。
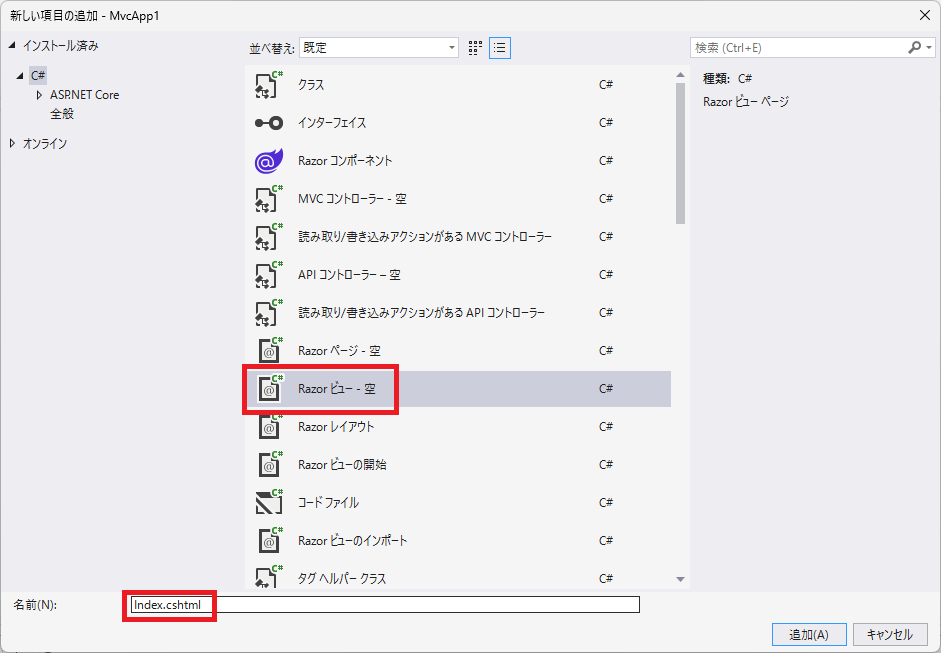
「Razor ビュー - 空」を選択し、名前が「Index.cshtml」になっていることを確認して、「追加」ボタンを押下します。
※コントローラーで指定しているビュー名が「Index」ではない場合は、指定したビュー名にしてください。
作成された「Index.cshtml」を、以下のように編集します。
「@{ }」は、Razor構文のブロックです。
ここでは、ブラウザーのタブに表示する文言を設定しています。
|
1 2 3 4 5 |
@{ ViewData["Title"] = "Index"; } <h2>Hello World</h2> |
初期表示画面の設定を行う
プログラムを実行した時に、最初に表示する画面の設定を行います。
ソリューションエクスプローラーから「Program.cs」を選択して、以下のように修正します。
|
1 2 3 4 5 6 7 8 9 10 11 12 13 14 15 16 17 18 19 20 21 22 23 24 25 26 27 |
var builder = WebApplication.CreateBuilder(args); // Add services to the container. builder.Services.AddControllersWithViews(); var app = builder.Build(); // Configure the HTTP request pipeline. if (!app.Environment.IsDevelopment()) { app.UseExceptionHandler("/Home/Error"); // The default HSTS value is 30 days. You may want to change this for production scenarios, see https://aka.ms/aspnetcore-hsts. app.UseHsts(); } app.UseHttpsRedirection(); app.UseStaticFiles(); app.UseRouting(); app.UseAuthorization(); app.MapControllerRoute( name: "default", pattern: "{controller=Hello}/{action=Index}/{id?}"); app.Run(); |
25行目が初期表示画面の設定で、「controller=〇〇」がコントローラー、「action=〇〇」がメソッドに対応しています。
ここでは、コントローラーを「Hello」、メソッドを「Index」にしています。
プログラムを実行する
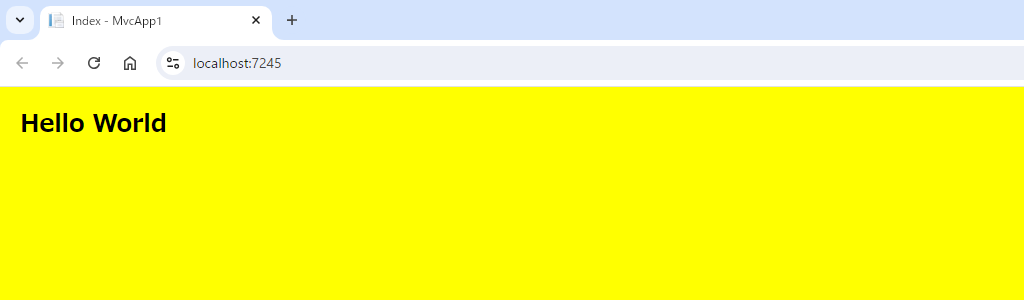
Visual Studio の上部にある「https」をクリックして、プログラムを実行します。

ブラウザーが起動し、画面に「Hello World」が表示されます。